Arrows, connectors and delimiters
The objects in the previous chapters exist on their own: a point, a circle, a formula. This chapter is about objects whose whole job is to relate two other things. An arrow points from here to there; a connector joins one shape to another and follows them around; a brace hugs a segment to say "this bit, right here, has length $x$". They are the annotation toolkit of a good math figure, and once you start using them your diagrams stop looking like drawings and start looking like explanations.
All three have a snippet in the editor (Alt+S, category Objects) and a DSL command, so you rarely need to type them from memory.
Table of Contents
The Arrow class
The Arrow class provides flexible arrows with various arrowhead styles and curvature options. An arrow goes from one point (or any object holding Coordinates) to another.
Basic arrow types
def arrows = group(
    obj: [
        [head: 'arrow1',                 color: 'midnightblue'],   // single head
        [head: 'arrow2',                 color: 'firebrick'],
        [head: 'arrow3',                 color: 'darkgreen'],
        [head: 'arrow3', tail: 'arrow2', color: 'goldenrod'],      // double head
        [head: 'square', tail: 'square', color: 'slategray'],
    ].collect { spec ->
        arrow(from: [0, 0], to: [1, 0],
              tail: spec.tail, head: spec.head,
              style: [color: spec.color])
    },
    layout: 'lower',
    gap:    0.1
)

scene.add(arrows)
camera.zoomToAllObjects()
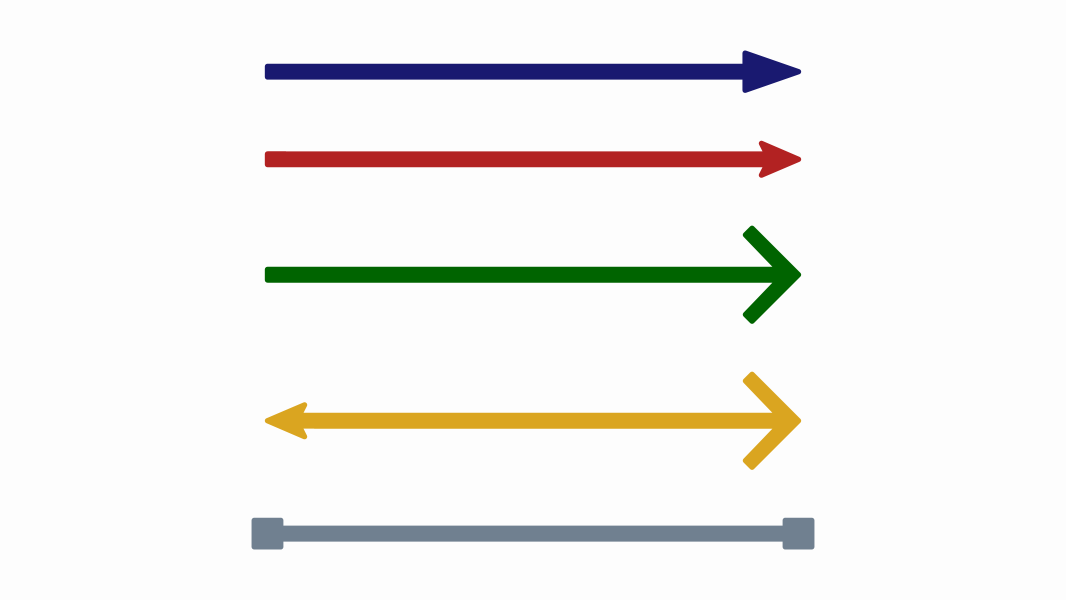
The available arrowheads are, in the ArrowType enum: NONE_BUTT, ARROW1, ARROW2, ARROW3, SQUARE and BULLET.
Curved arrows
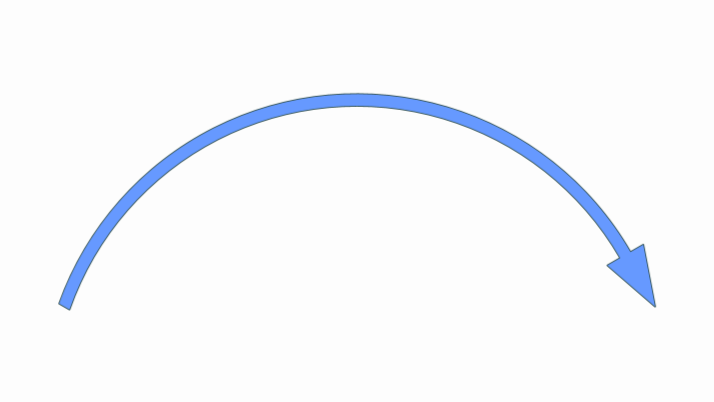
Arrows can be curved by setting a curvature angle:
def A = Point.at(0, 0)//You can use points
def B = Vec.to(1, 0) //Or vecs

def arrow=arrow(
    from: A,
    to: B,
    head: "arrow1",
    curvature: 60*DEGREES,
    style: [drawColor: 'darkslategray', fillColor: '#6699FF']
)
scene.add(arrow)
camera.zoomToAllObjects()
scene.saveImage("arrow2")
Advanced styling
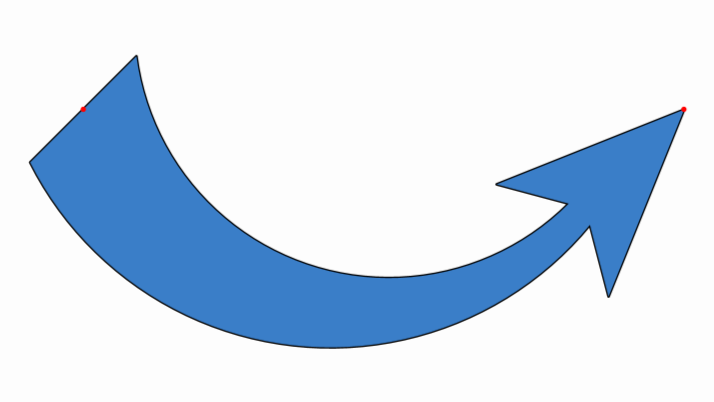
You can control the scale of each arrowhead independently:
//A is defined in Groovy style
def A = Point.at(0, 0).layer(1).drawColor("red")

//B is defined via DSL, just for fun
def B=point(
    at: [2,0],
    style: [drawColor: 'red', layer: 1],
)

def arrow = arrow(
    from: A,
    to: B,
    head: "arrow2",
    curvature: -45*DEGREES,
    startscale: 5,
    arrowthickness: 100,
    style: "solidblue"
)

scene.add(arrow, A, B)
camera.zoomToAllObjects()
The Groovy way
For anything beyond a plain arrow, the arrow(...) DSL is more comfortable, because every option has a name (and Ctrl+Space lists them), but in some advanced cases you may have to rely on Groovy syntax. For example, you may want to change some arrow parameters after the objects has been created, like curvature
def A = Vec.to(-1.5, 0)
def B = Vec.to(1.5, 0)

def arrow = Arrow.make(A, B, ArrowType.ARROW3)
    .setArrowThickness(100)
    .style("solidblue")

scene.add(arrow)

def angle=Scalar.make(0) //Define a scalar that we will animate

def anim=animScalar(
    runtime: 5, obj: angle,
    from: 0, to: PI/4,
    run: false //Don't run the animation yet
)

//We run the animation "manually"
anim.initialize()
while (!anim.processAnimation()) {
    arrow.setCurvature(angle.getValue()) //Groovy method to set curvature
    arrow.setStartScale(1+4*angle.getValue()) //Groovy method to set start scale
    scene.advanceFrame()
}
It will generate this animation:
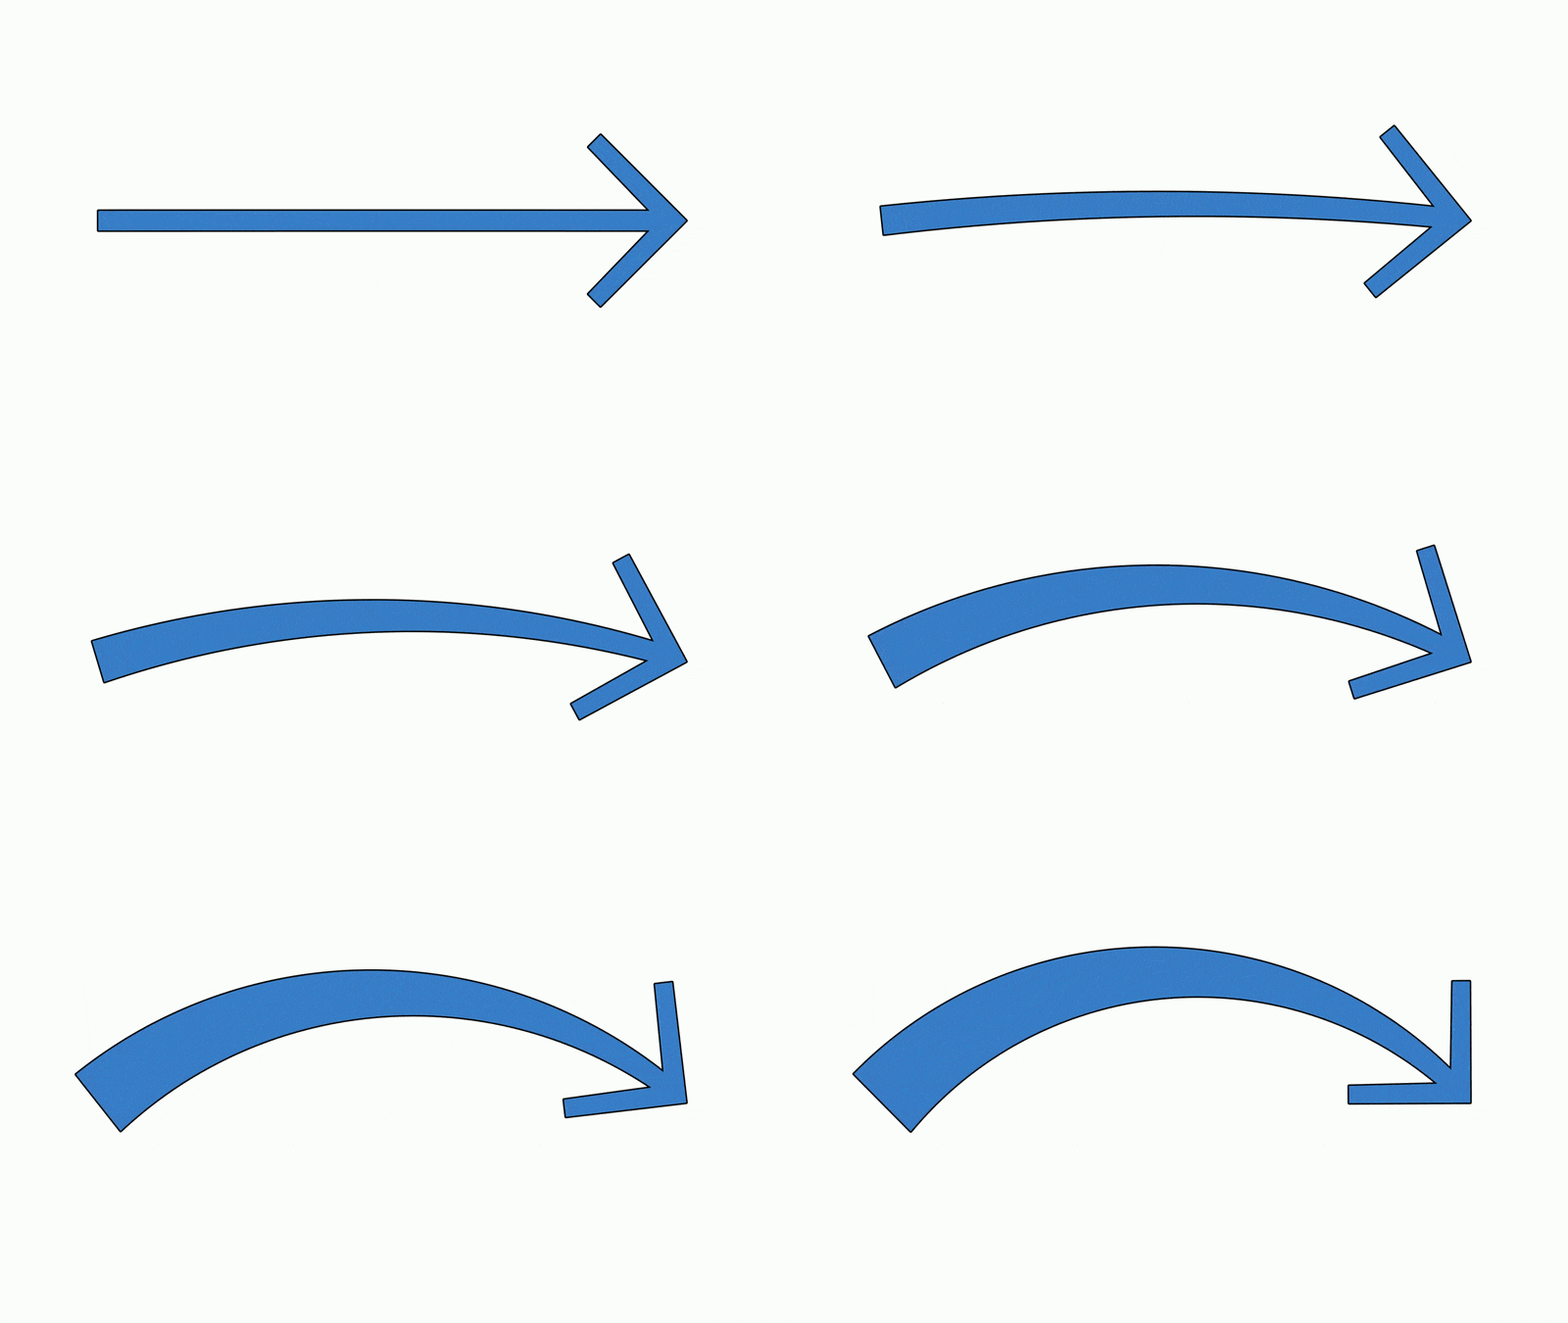
In the example we could have used DSL to define the arrow, but the methods to change the curvature and start scale in the animation loop needs to be called in its groovy form.
The general rule is: DSL is good to create easily complex objects, but once created, you need to rely on Groovy syntax in some cases to modify some of their parameters.
The Connector class
An Arrow is really a special case of a more general idea: the AbstractConnector, "anything that joins two things". Its other subclass is the Connector, and it fixes an annoyance you hit as soon as your diagram starts moving.
An Arrow connects two fixed coordinates. A Connector, instead, connects two objects: it looks at their bounding boxes, works out where to start and end so the arrow touches each object neatly, and (because it depends on them) recomputes itself every frame Move, scale or animate either object and the connector follows, always joining them cleanly. This is exactly what you want for flowcharts, commutative diagrams, "this maps to that" pictures, and so on.
The simplest form connects object A to object B with a default arrowhead at the B end:
def a = latex(
      text: r"$X$",
      transform: [moveto: [-1, 0]],
)
def b = latex(
      text: r"$Y$",
      transform: [moveto: [1, 0]],
)
def con = connector(
      from: a,
      to: b
)
scene.add(a, b, con)
animShift( // move b up: the connector keeps up automatically
      runtime: 3,
      obj: b,
      vector: [0, 1]
)
Or, if you prefer it using Groovy commands:
def a = LatexMathObject.make(r"$X$").center().shift(-1.5, 0)
def b = LatexMathObject.make(r"$Y$").center().shift( 1.5, 0)

def con = Connector.make(a, b)

scene.add(a, b, con)
play.shift(3, 0, 1, b) // move b up: the connector keeps up automatically
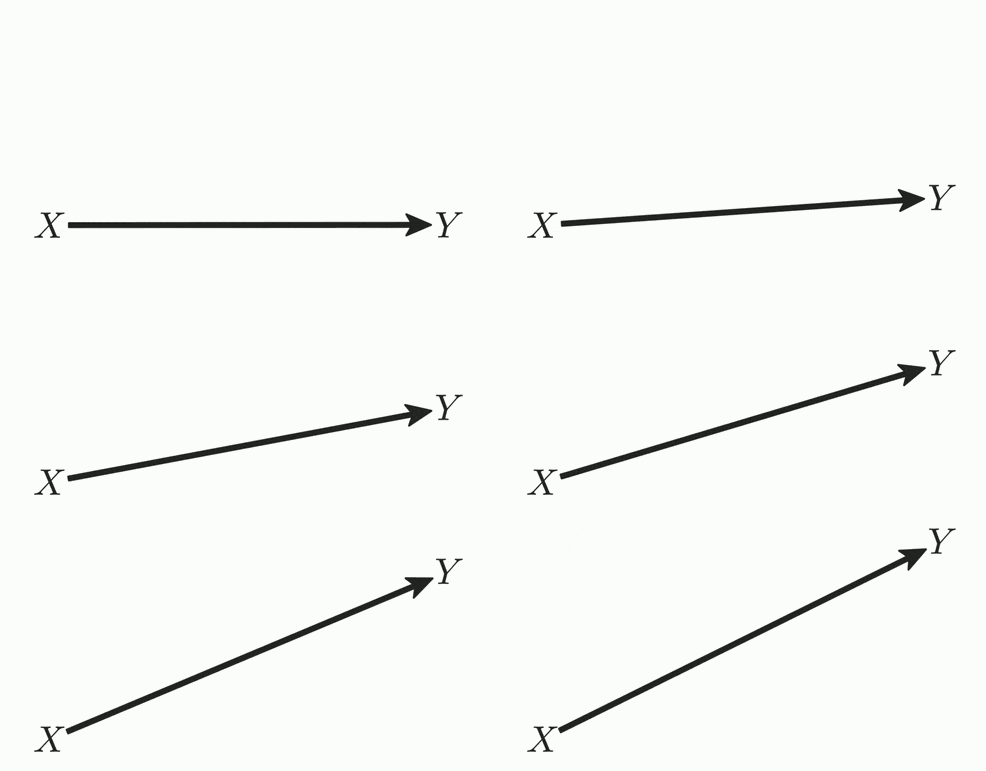
You can choose both arrowheads, exactly like an Arrow:
// Double-headed connector (an isomorphism arrow, say)
def con = connector(from: a, to: b, head: "arrow1", tail: "arrow1")
//or in Groovy style:
def con = Connector.make(a, b, ArrowType.ARROW2, ArrowType.ARROW2)
Fine-tuning where it attaches
By default the connector figures out the exit and entry points automatically (connectionType: "auto"). If you want more control over how the endpoints are placed on each object's bounding box, set a connectionType other than auto:
connectionType |
Meaning |
|---|---|
auto (default) |
JMathAnim decides the exit/entry points |
fixed |
A fixed anchor on the bounding box |
boxed |
Exit on the bounding-box border |
circular / ellipse / inscribed |
Exit on a circle / ellipse / inscribed circle around the object |
center |
Aim straight at the centers |
Once connectionType is set (not auto), the extra keys startScaleBBox and endScaleBBox (default 1) multiply the effective bounding box at each end, to leave a bigger or smaller gap. Because they are a scale, though, the gap grows with the object (a big box gets a big offset).
For a fixed clearance that does not depend on the object size, use gaps instead: it adds a constant distance to the bounding box before the exit is computed. It accepts a single number (same horizontal and vertical) or a [h, v] pair, and (unlike the scale) it works with every connectionType, including center (which then exits a fixed distance from the center instead of exactly at it):
// A constant 0.15 of clearance around each object, aiming at the centers
def con = connector(from: a, to: b, connectionType: "center", gaps: 0.15)
In plain Groovy these correspond to con.setConnectionType(...), con.setStartScaleBoundingBox(...), con.setEndScaleBoundingBox(...), con.setStartGap(...) and con.setEndGap(...).
Stepped connectors
Everything so far has drawn a straight (or gently curved) line between the two objects. Sometimes, though, you want the tidy right-angle routing of a circuit diagram, a flowchart or a UML sketch: the connector leaves one box, turns a corner or two, and arrives at the other box along a horizontal/vertical path. That's a stepped connector, and you get it by adding type: "stepped":
def a = latex(text: r"$A$", transform: [moveto: [-1.5,  0.6]])
def b = latex(text: r"$B$", transform: [moveto: [ 1.5, -0.6]])

def con = connector(
    from: a, to: b,
    type: "stepped", head: "arrow2",
    gaps: .05
)

scene.add(a, b, con)
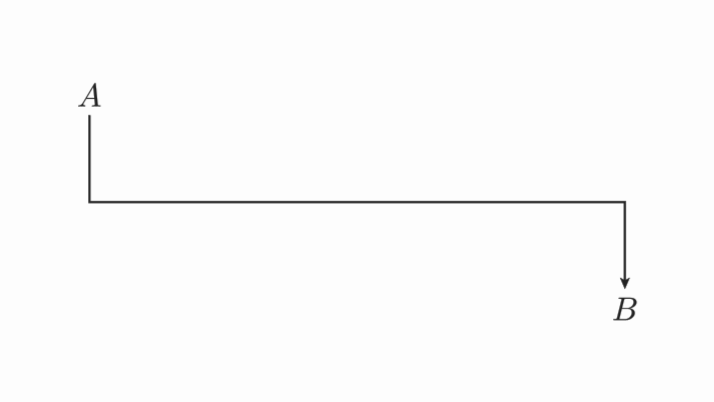
Like any connector, it depends on the two objects and re-routes itself every frame as they move.
Choosing where it exits: anchorStart / anchorEnd. These say on which side of each object's bounding box the connector attaches, using cardinal anchors (LEFT, RIGHT, UPPER, LOWER, ...). If you give one, it is pinned there; if you omit it, JMathAnim searches for the most compact route and re-evaluates the choice whenever an endpoint moves:
// Leave A on its right side, arrive at B from below; the rest is automatic
def con = connector(from: a, to: b, type: "stepped",
                    anchorStart: "right", anchorEnd: "lower")
Choosing the elbow shape: stepDirection. This controls the orientation of the corners:
stepDirection |
Route |
|---|---|
auto (default) |
Chosen from the dominant A→B direction |
hvh |
Horizontal → vertical → horizontal (two corners) |
vhv |
Vertical → horizontal → vertical (two corners) |
hv |
Horizontal then vertical: a single-corner "L" |
vh |
Vertical then horizontal: a single-corner "L" |
def con = connector(from: a, to: b, type: "stepped", stepDirection: "hvh")
A couple of things to keep in mind:
- Arrowheads work as usual (
headandtail), butcurvatureis ignored for stepped connectors (a right-angle body and a curve don't mix), and you'll get a warning in the log if you set it. - By default, a stepped connector routes its exits with the
FIXEDstrategy, so theanchorStart/anchorEndcontrols above are the ones you want. You can, however, override that with aconnectionType: for exampleconnectionType: "center"makes the step run between the two object centers (just like a straight connector), in which case the anchors no longer apply.
The Delimiter class
The Delimiter class creates extensible symbols (braces, brackets, parentheses) that automatically stretch to fit between two control points, and re-adjust every frame if those points move. Perfect for "the base measures $x$" annotations.
Creating delimiters
We will see a example showing how they are built. We create a blue square sq and them delimiters to its points. The individual points of a Shape can be accessed through the sq.get(n) method:
def sq = shape(type: 'square', transform: [center: true], style: 'solidBlue')

// Red brace with label
def delim1 = delimiter(
    from: sq.get(2), to: sq.get(1),
    type: 'brace', gap: 0.05,
    label: r"$x$",
    style: [color: '#d35d6e']
)

// Green bracket with a custom (object) label that doesn't rotate
def delim2 = delimiter(
    from: sq.get(1), to: sq.get(0),
    type: 'bracket', gap: 0.05,
    label: [object: shape(type: 'regularpolygon', sides: 3, transform: [scale: 0.1]),
            fillColor: 'yellow', thickness: 6, rotation: 'fixed'],
    style: [color: '#5aa469']
)

// Orange parenthesis, 3× larger
def delim3 = delimiter(
    from: sq.get(0), to: sq.get(3),
    type: 'parenthesis', gap: 0.05,
    delimiterScale: 3,
    label: "3",
    style: 'solidorange'
)

scene.add(delim1, delim2, delim3, sq)

// Animate to show the delimiters auto-adjust
animScale(obj: sq, sx: 0.75, sy: 1.8,  runtime: 3)
animScale(obj: sq, sx: 2,    sy: 0.25, runtime: 3)
animRotate(obj: sq, angle: 60 * DEGREES, runtime: 3)
disappear(obj: sq, type: 'shrinkout')
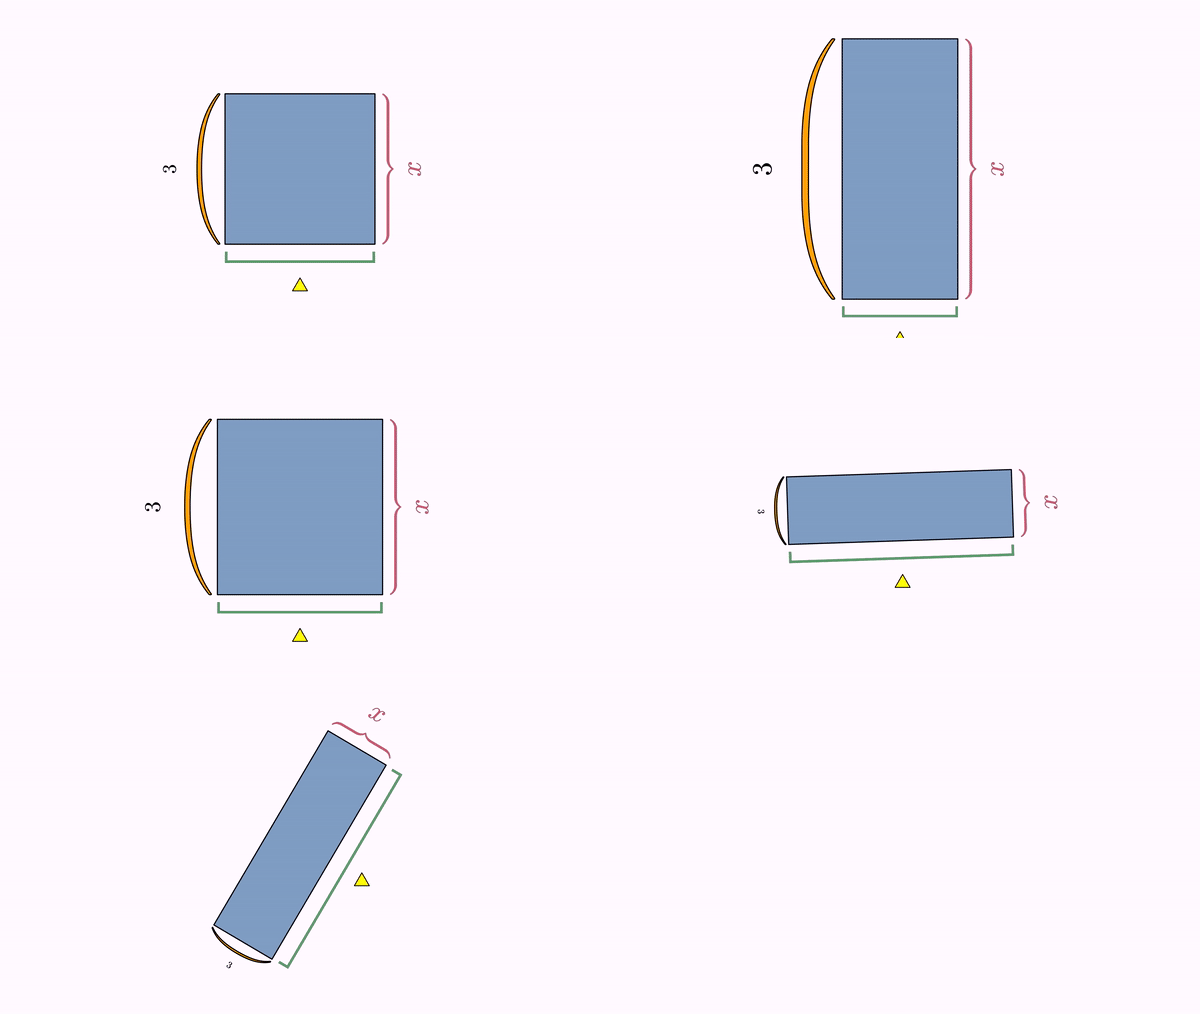
Key features:
- Delimiters automatically recalculate every frame, so they track a growing or rotating shape.
- They always draw to the "left" when looking from point A to point B (swap the two points to flip the delimiter to the other side).
- Labels can be set to FIXED (don't rotate), ROTATE (rotate fully with the delimiter), or SMART (rotate but never upside-down, the default).
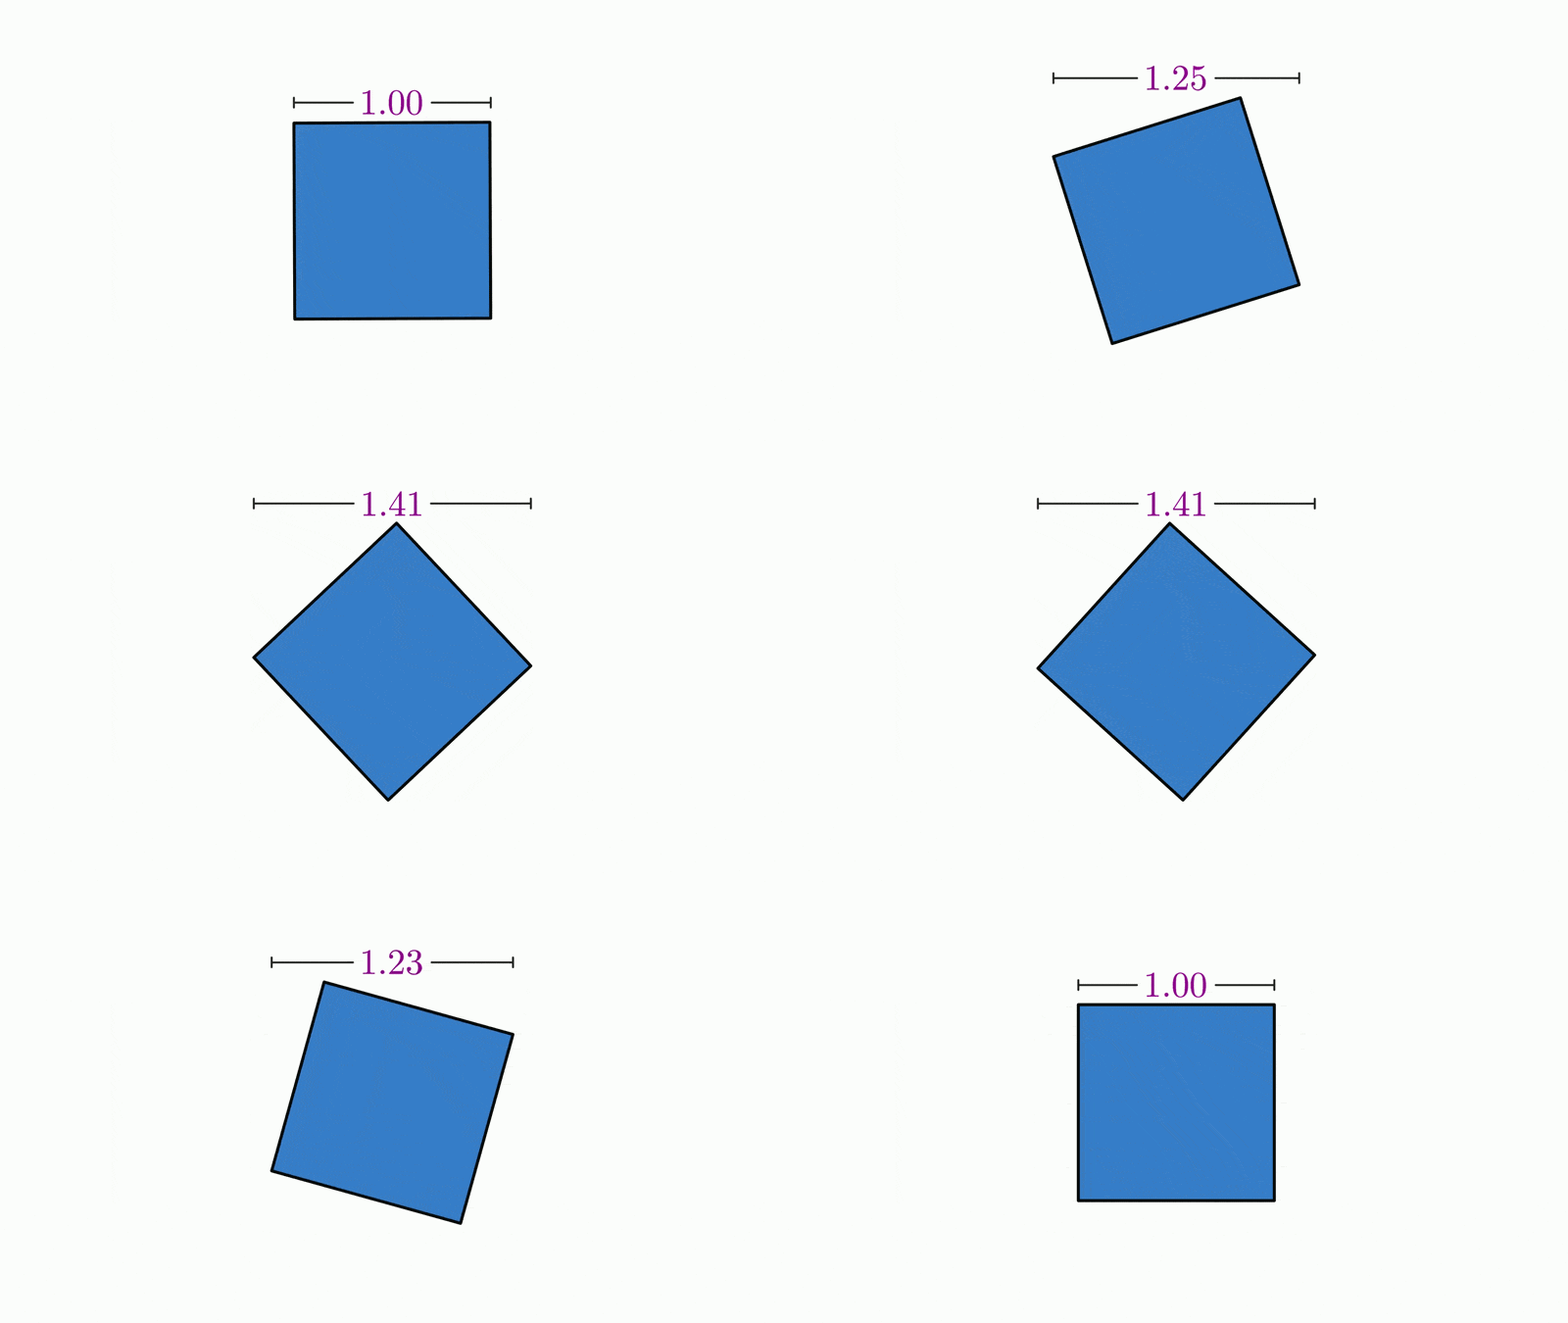
There is also a stacked form that glues the delimiter to a whole object instead of two explicit points:
def sq = shape(type: 'square', transform: [center: true], style: 'solidBlue')
def d = delimiter(stackedTo: sq,
      anchor: "UPPER",
      type: "length_bracket",
      lengthLabel: [format: "0.00", color: 'darkmagenta']
)
scene.add(sq,d)
animRotate(obj: sq, angle: PI/4, runtime: 3)
Special labels
A very common need is a delimiter that shows the current length of what it spans, and keeps that number up to date as the shape is animated. In the previous example you have seen one!
def d = delimiter(stackedTo: sq,
      anchor: "UPPER",
      type: "length_bracket",
      lengthLabel: [format: "0.00", color: 'darkmagenta'] //Magic happens here
)
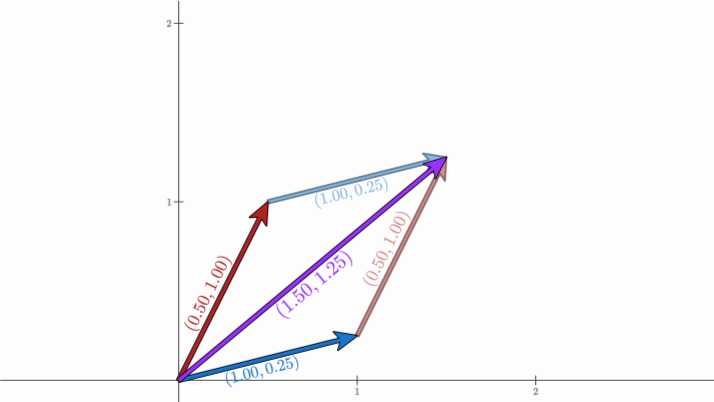
Delimiter and Arrow objects. For the last one, there is an additional type, called vecLabel, that shows the cartesian coordinates of the arrow:
def axes = axes(
    range: [-2, 2]
)
camera.moveTo(1, 1) //(1,1) at screen center
def v1 = Vec.to(.5, 1)
def v2 = Vec.to(1, .25)

def ar1 = arrow(//First arrow
    from: [0, 0],
    to: v1,
    head: "ARROW2",
    style: [fillColor: 'firebrick', drawColor: 'black'],
    veclabel: [
        format: "0.00", scale: .6, upSide: true,
        style: [color: "firebrick"]
    ]
)

def ar2 = arrow(//Second arrow
    from: [0, 0],
    to: v2,
    head: "ARROW2",
    style: [fillColor: 'dodgerblue3', drawColor: 'black'],
    veclabel: [
        format: "0.00", scale: .6, upSide: false,
        style: [color: "dodgerblue3"]
    ]
)

//Copies of ar2 and ar1 properly shifted
def ar3 = ar2+v1
def ar4 = ar1+v2

apply(//Apply alpha 50% to ar3 and ar4
    obj: [ar3, ar4],
    style: [alpha: .5]
)

def arrowSum = arrow(//Sum of vectors
    from: [0, 0],
    to: v1.add(v2),
    head: "ARROW2",
    style: [fillColor: 'purple1', drawColor: 'black'],
    veclabel: [
        format: "0.00", scale: .6, upSide: false,
        style: [color: "purple1"]
    ]
)
scene.add(ar1, ar2, ar3, ar4, arrowSum)
scene.saveImage("sumOfArrows.png")